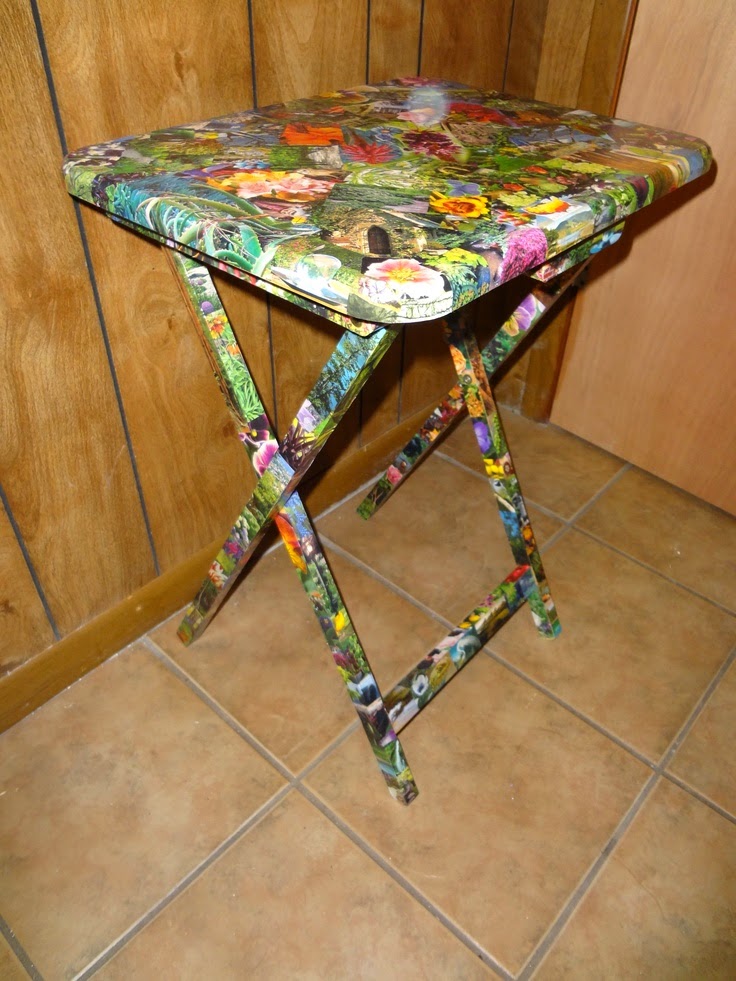
Eat, sleep, breathe collage! This table took me about a week to do, but it turned out AWESOME!
I bought a folding solid wood tray table at Wal-Mart for about $15 and really didn't have to do any prep to it at all. After cutting millions (probable exaggeration) of tiny pieces from all my garden and mail order plant magazines, (you can easily get mail order plant magazines by going to their websites and requesting one) and without trying to over think the color coordination and placement, I started to glue...and glue...
The best glue to use is just plain Elmer's school glue, or Mod Podge glue. There are a few tips and tricks that I've learned along the way too.
1.) Spread glue lightly in an even thin layer directly where you want your piece to go, then gently smooth it. If it starts to ripple or bubble try gently smoothing it some more with your finger. This may mean that you've used too much glue so try less next time.
2.) As your working, try to not get one area too soggy as once, jump around if you can or pause to let it dry for a bit and then continue. If you start overlapping and over gluing you're going to have a bad time. :/
3.) If you've never done collage work before and you want to practice before you take on an epic project like this, then try something small on a generally solid smooth surface.
4.) Once you're done gluing the pieces down and you're happy with how it looks then you can apply a top coat of glue once everything is completely dry. You can also apply the top coat as you're working, just make sure not over saturate and allow it to ripple. This top coat is very important to apply thinly but completely before you spray any kind of sealer, as the sealer will bleed into the magazine and cause it to look permanently wet. The glue will not do this.
5.) Let all the glue dry overnight and then you can apply a sealant clear spray. Follow directions depending on whatever spray you choose.
Have fun and good luck!

No comments:
Post a Comment